CSS Overflow
Many times, the content may overflow from the container or the block in which it is. In such a situation, we have got the power to handle the overflow, by doing multiple things, like hiding the content that is overflowed or adding some scrollbars, or as default showing the overflowed text, as it is.
The overflow problem can be a very common problem. Basically, the content sometimes flows out of the section in which it is kept. For example, we have an element with some content, and that content goes out of the element. Have a look –

As you can see, the content is going out of its element.

In such situations, we can either choose to increase the size of the section in which we are putting the content, or work smartly and put some scrollbars so that the content looks better without changing the dimensions of the element.
One technique to do this is overflow property. So if the content flows out of the element, you don’t have to be worried about the layout. Just use the overflow property with which you can add some scrollbars to your element.
You can refer to the below code to understand the overflow property in a better way –
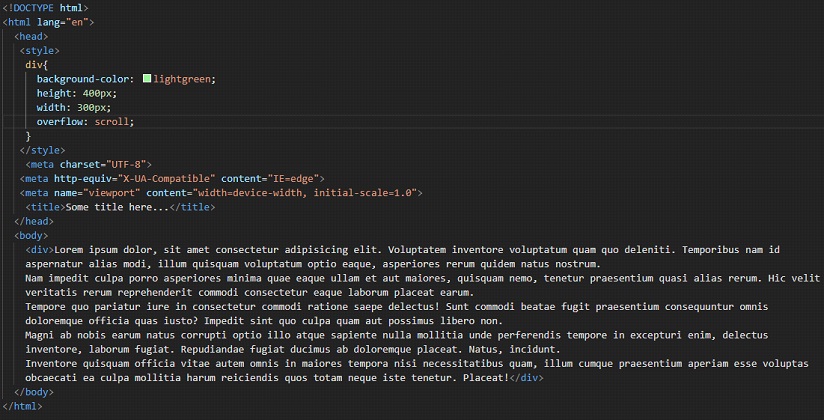
Here, we have set the overflow property to scroll. We are simply adding the scrollbar to the element. But with scroll value for the overflow property, the scroll bar is added even if you do not need it. So, if you want a scrollbar only if needed, then you should use the auto value for the overflow property. Due to it, the scrollbar will be added only if needed. You can try putting the value as auto, and see the changes on the web page. Here is the output for the above-written code.
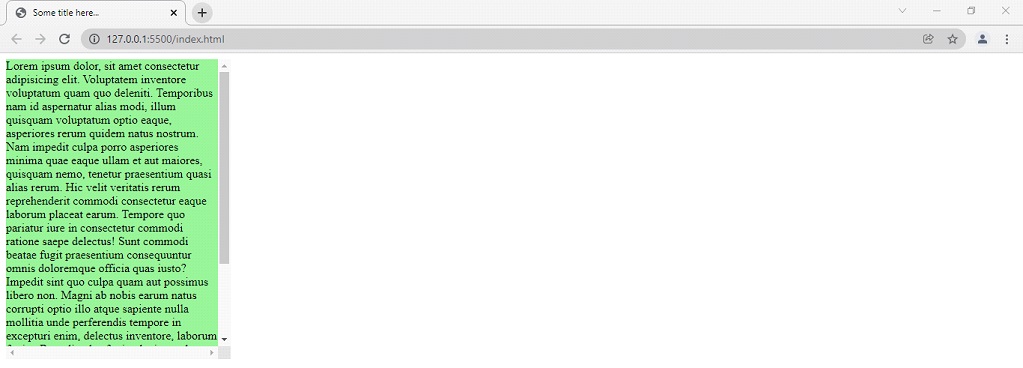
As you can see that since the content was overflowing, we could manage to put a scrollbar using the overflow property. You can try some other values for the overflow property.
The following are the properties in this property –
- visible – which means that the content will be visible outside the element. (just as it was earlier.)
- hidden – this means that the content that overflows from the element will be hidden and not shown.
- scroll – this means that the scrollbars(vertical and horizontal) will be added (even if they are not required.)
- auto – this means that the scrollbar will be added only when needed.
Now, let’s have a look at one more example, which demonstrates the use of overflow property, which can be used to handle the overflow of the content from some element.
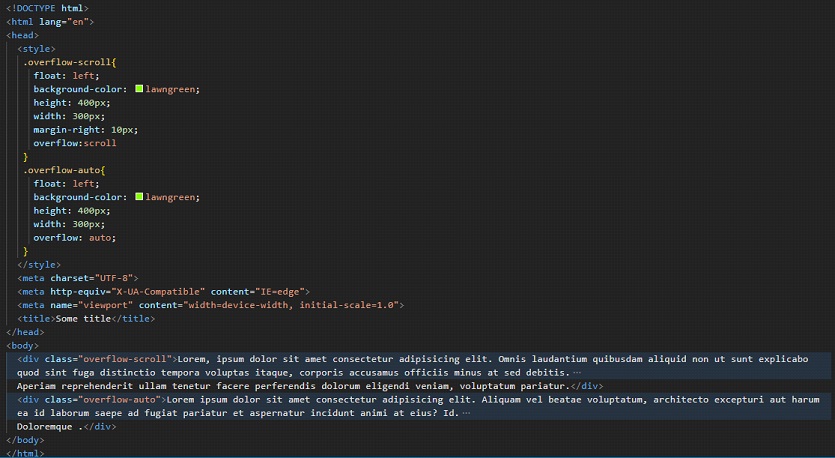
As you can see, we have two elements, belonging to class overflow-scroll, and overflow-auto. Now, the container with the overflow property set to scroll will have a scrollbar, even if it does not need the scroll bars. On the other hand, in the container with the overflow property set to auto, the scrollbar will only be added if required.
So, whenever you want to handle the overflow of the content for some element, you can make use of the overflow property, and specify the required things.