CSS Links
Well, on many web pages, you might have seen some text/image, clicking on which, you are directed to another webpage/document. It is basically called a hyperlink, which is something that links to another thing. This is what makes a web, a web. Basically, we can link another document, or audio file, a video file, or some specific part of a document, etc.
It is very interesting to have hyperlinks on our webpage, and we have also seen them many times, on many websites as well.
So, now let’s have a look at how can we do it.
Before that, understand a basic thing, that we have been working with many different tags for doing different things. Now also, we are going to make use of an anchor tag, known as a tag. We might have used it earlier somewhere in our examples, or you might be already familiar with it.
So, styling links means what? That’s what we have to see now. We are just going to explore some things that we can do to our links on the web pages.
First of all, this is what a normal link would look like –
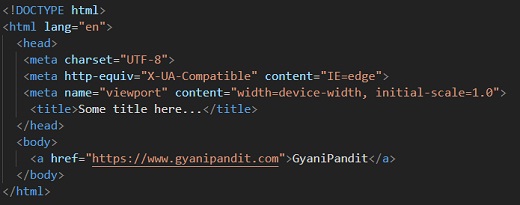
Output –

As you can see, the link appears quite different than just normal text. It has got an underline, and a different color as well. The color here has to state something. An unvisited link is blue in color, a visited link is purple in color, and an active link is red in color. The one above we can see is a purple-colored link, which tells us, that the link is visited.
Also, before we move to the different things that we can do with links, we should understand the different states that a link can exist in. We can style them using different pseudo-classes.
Here are some of the different states for the link –
- hover – This is when you take the mouse over the link.
- link – when the link is unvisited
- visited –Simply, the link is visited.
- active – when the link is active
- focus – This is when we are focussing on the link, like through tabbing.
the conventional order – link, visited, hover, active.
Again, you can use the text-decoration property with the value none, to remove the underline from the link. You can also change the background color for different states(pseudo-classes) of a link.
You can refer to the following code to understand the concept of styling the links. Have a look –
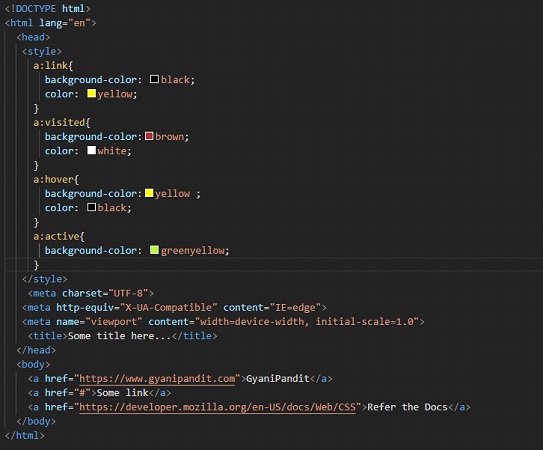
If you have a look at the output, it is something like this –

Well, as you can see above, we have styled the links for several states. You can also give it a try for focus. Now if you try to click and hold on to any link, or right-click on any link, you can see that the background of that link turns green-yellow.
The middle link is not visited, which is why the background is black and the color is yellow. If you try to hover over any link, the background turns yellow, and the text color turns black. So, these are some different states for a link. You can try the ideas from your mind, and style the links accordingly.
Now, if you want to remove the underline from the link, we can do it using the text-decoration property with a value of none. Basically, we are going to remove the underline from the link upon hovering, but you can do it otherwise as well(but not recommended, or if you want to do it, highlight the links in some other way)
Now, let’s try to implement this. Remember that upon hovering, the underline from the text is going to get removed. But this is true for the hover state only. If you are not hovering over the link, the underline is there only(in our case). Let’s have a look –
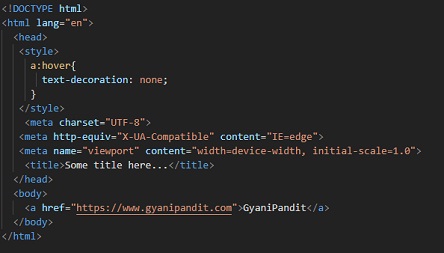
Now, if we try to open the file in the browser, and hover over the link, we can find that the underline gets removed. If you want to do something like this, you can do it comfortably.
If you want to add some supporting information along with the link, you can use the title attribute. So, if you have given the title attribute, with some information, just upon hovering over the link, you will see whatever you have written in the information. You can try doing this.