CSS Images
You might have seen images many times on some websites. Well, it is sometimes an essential part of our website. So, if you want to add images to your web pages, how can we do it? Well, it is an easy thing, and we are going to look after it now.
We have been working on many different elements for a long, and we have come across many different tags for doing different things. So, for adding images as well, we are going to need a tag. So, first, let’s understand it.
The tag that we are going to use, is called the img tag. There are some attributes that we are going to use within the img tag, like src, and alt. With the src attribute, we are specifying the URL of the image. It is a necessary attribute in the img tag. Another attribute that we use quite frequently is alt. If in case, the image is not visible to the user, this alternate text will be shown to the user.
So, whatever text you wish to display should be there in the alt attribute. There are some more attributes as well, and some global attributes are also supported here, like class, id, etc.
So, let’s now have a look at a very simple example, where we are trying to add an image to our web page. Have a look at the example –
The output for the above code is going to be –
Here, we are adding some images to our web page, using the img tag. Here, we just wrote the image name, like hummingbird.jpg. The image is in the same folder as the html file, so I could do this, otherwise, you have to give the relative path of that image. And in case if the image is not visible to the user, the alternate text will be displayed, which is usually telling about the image that was supposed to be displayed. Like if this image does not get displayed on the web page, we can just write it as an image of a hummingbird, or something similar to that.
So, let’s have a case, where the image is not displayed, but instead, the alternate text description gets displayed.
So, as you might have guessed, the output of the above example is going to be –

So, we should carefully specify the name of the image that we want to display.
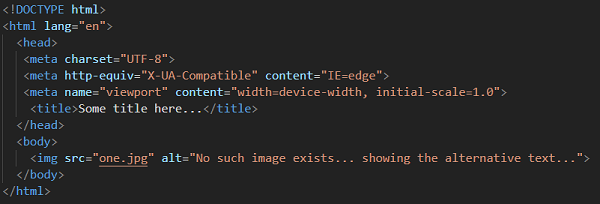
You can also create a little album, with some images and their description in some div/ paragraph maybe. You can style them as you wish. I had created a simple one, and it looks something like this –
As you can see, this was a simple album, with an image above and a description below, with a blue background. Actually, when you hover on an element, some black border appears around it. This is so simple. You can try to make an even better album than I have made. You can have an idea with the help of the above image.
So, wherever you want to deal with some image on the webpage, you can simply make use of img tag.
Now, let’s understand and do some different things, related to styling the images. We can play with the images, like playing with the opacity of the images, adding borders to the images, creating some cards, like I have created some above, and much more.
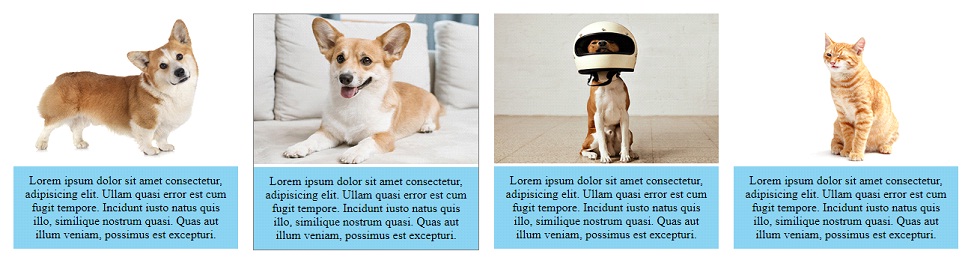
First of all, let’s try to play with the opacity of the element. Let’s say that we want to do something like this – when we hover over the image, the image should become quite transparent. Have a look at the code below, where we are trying to do the same thing –
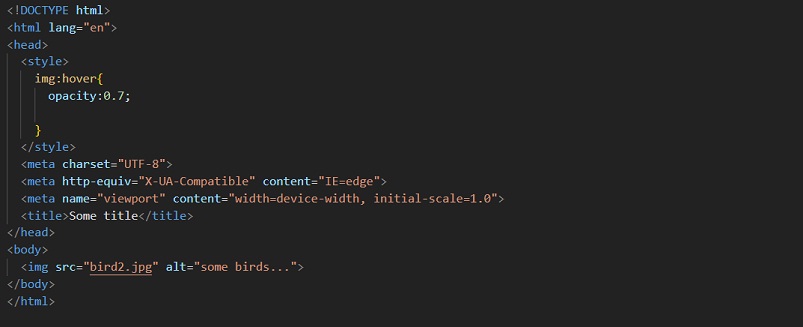
As you can see, we have set up the opacity property for the hover state on the image. Now, if we hover over the image, the opacity of the image becomes 0.7, which earlier was 1. This is pretty interesting, and you can try to do this.
There is a lot to do with styling the image. Styling and image is not much different than styling the other elements. You can try creating an album, similar to the image that you can see above.